Saturday, January 25, 2014

New Technique!

I was thinking about making a "floating" binding edge for a mini album but my curved chipboard really did not match the pinks, grays, whites, and blacks of my Timeless Theresa Collins papers and decided to try an idea on them.

Since I am glueing all the same pink grey glitter papers from another collection to all four sides I do not need to worry about the rub and buff getting everywhere. If you feel you need gloves and to protect your clothing for a project like this I would take the precautions necessary. I am also not fond of the scent of Rub and Buff.

I cannot guarantee that this technique will work well on all papers or all of the newer varnish papers as well as it has worked on the grey glitter areas matched to the color of my Rub and Buff and I am using Pewter #76380A. Because I have not tried this technique on those and I have not tried any aspect of this technique on Gilder Paste either because I do not currently own any.


Tuesday, January 21, 2014

Generalizations on Design and the "Debutante" needs a Christmas present....

I do not plan on making the entire design in question but was more curious about the page inserts to this particular Tick Tock Cuckoo Clock kit which again is another Laura Denison Design. Her videos do not stream well for me but neither do allot of others an that in itself was a frustrating perpetual slow motion but I try and be patient with her, her designs, and her sites.

The page insert concept is using 8 1/2 x 11 papers as the base for what should be a finished scrapbooking book. I think she always creates 5 pages but do not quote me on that. Hers would require 8 sheets of 8 1/2 x 11 to create the entire five pages with tabs.

In this instance I had six slightly random marbled green sheets of 8 1/2 x 11 and a few others that are a different manufacturers of green and pink sheets of 8 1/2 x 11.

What was not stated but seemed apparent after the fact was they need to be double sided.

I started scoring the six random 8 1/2 x 11 sheets as she did and currently without the "tabs".

In the vertical position starting from the left going too the right of the 8 1/2 x 11 sheets she scored all of them at 1/2 an inch and then again at 5 inch. There should be 4 1/2 inches between each of these score marks. Then turning the 8 1/2 x 11 sheets in a horizontal direction with the 1/2 in now going along the bottom.  Score each one at 1/2 in and then score again at 6 inches in. There should be 5 1/2 inches between these score marks.


After this is done. There is sections that need to be cut out for folding and a supposed tag. As pictured below you will need to cut starting from the top left corner going down 6 inches on the inner score line and to the right going 5 inches across on the inner score line.


Next is you need to cut out the "tag" and this seems to have no purpose. The comment was that this would make a good tag... Now I scored this part but if you have the proper trimmer you can trim out. In the bottom right corner of the now former vertical "8 1/2 x 11" you will see 2 score lines and you need to "score"/cut a 1/2 inch in on the right side of the vertical score line and a 1/2 down on the top vertical score line. I did not mark purple on the tag in able to darken the area for you on this picture and this is how they should all look by this juncture.


The next step involves tabbing all of the remaining scored tabs for glueing and this requires using a pair of scissors to angle them. The trimmed tabs in the photograph should be obvious.


The after the fact effect she seems to wield.....

Before teaching this particular part as well as before folding and attaching the tabs is when I realized I really did not like the binding edge for either side.

If I had already purchased this tutorial before viewing this as others do I would honestly have been dissatisfied.

Also if the paper purchased is even slightly askew or if the paper is not scored exactly and you could score them exactly it can easily become askew.

Take the former upper vertical right corner as you did in the beginning and turn it over. Then turn that corner down so it is in a horizontal position going right to left. Take the left side of the page and fold the tabs inward and then the page inward onto itself at the score line. Also pictured below is how all of them should appear. This is where you should glueing this part down but don't.


Now take the remaining six tags and score from the bottom right corner of the uncut side going from right to left 2 1/4 inches leaving you almost 3/4 of an inch tab that you do not want to angle cut at the corners as these will be glued down before you take the previous glueing step. Again do not take that previous step as of yet.


Now take your stack and turn it over. Take the two tabs fold them in and then glue down.


Looking at them I either did something wrong or the back is now the front. She had the additional sheets for the additional tabs that I do not have. Meaning she used all of the same color cardstock for the base album.  I have additional pink and emerald green sheets to "experiment". I have not altered the design all that much. She had 2 additional tabs she added to each folded page. I currently only added the glued/non glued tag to each folded page.


I have now trashed five pages and I need to re-think it if I want to re-make it.


Sunday, January 12, 2014

A mistake, Baby too Bride, and double shims...

The days of Harlequins, and Houndstooths decorating patterns seem to be numbered and hopefully so are the days of the industries polka dots, chevrons, and stripped papers... I can tolerate stripes for certain projects...

I am stating this as designers and I have worked with three in the past that do not have to "build" what they design for themselves and all of you.

I wanted to try this simple "non-decorated recipe" box that has been used a number of different ways in the Scrapbooking and Crafting communities as well as trying Laura double shims. In this instance I found it easier to take the "measurements", etc. from the photos on Laura Denison blog post then the you tube video but I have also seen the you tube video once.


Since this is not my "pattern" with adjustments. Having the additional 12 x 12 papers alone adjusted would have been nice as opposed to throwing that miser scrap away! This is the link to her blog and she made it into a "cute" specific products Gingerbread House. http://followingthepapertrail.blogspot.com/2009/12/on-first-day-of-christmas.html

After trimming my chipboard to the size needed. With a few scraps I made her version of "four" double shims. I immediately noticed a problem. Although most individuals are not this picky or particular if you want a house built straight then I would suggest re-designing the double shim. Most people eye these steps and seem to be content with the results. When I attempted the shims in the center I noticed shifting to the left or right. I would use two if you want the principle of the double shims to apply.


I have learned to deal with the multitude of mistakes that comes with Traumatic brain injury and one of them is the realization with how I ended up with 20 sheets of the Graphic 45 Baby 2 Bride Collection From This Moment #450029. Although a project I would have liked to make with one of the Domestic Goddess "food" papers. These will have too do! I have chosen one 12 x 12 of the Harlequin side for my outside cover and one 12 x 12 roses for the inside of my cover. In this instance prior to the "recipe" editions I am not adding any thing other then tape (1/4 Scor-Tape) not measured out, 1 sheet 12 x 12 made in the U.S.A medium weight chipboard (black) and any color will do, two sheets of 12 x 12 decorated paper for the front and back, two sets of magnets and colored stamp pads for additional color. In this instance since so many of you are fans of Timmie and to match my papers I choose the darker side of Peacock Feathers and the lighter side of Bundled Sage for the outside temporarily to test and I choose the darker side of Fired Brick and the lighter side of Victorian Velvet for the inside permanently.

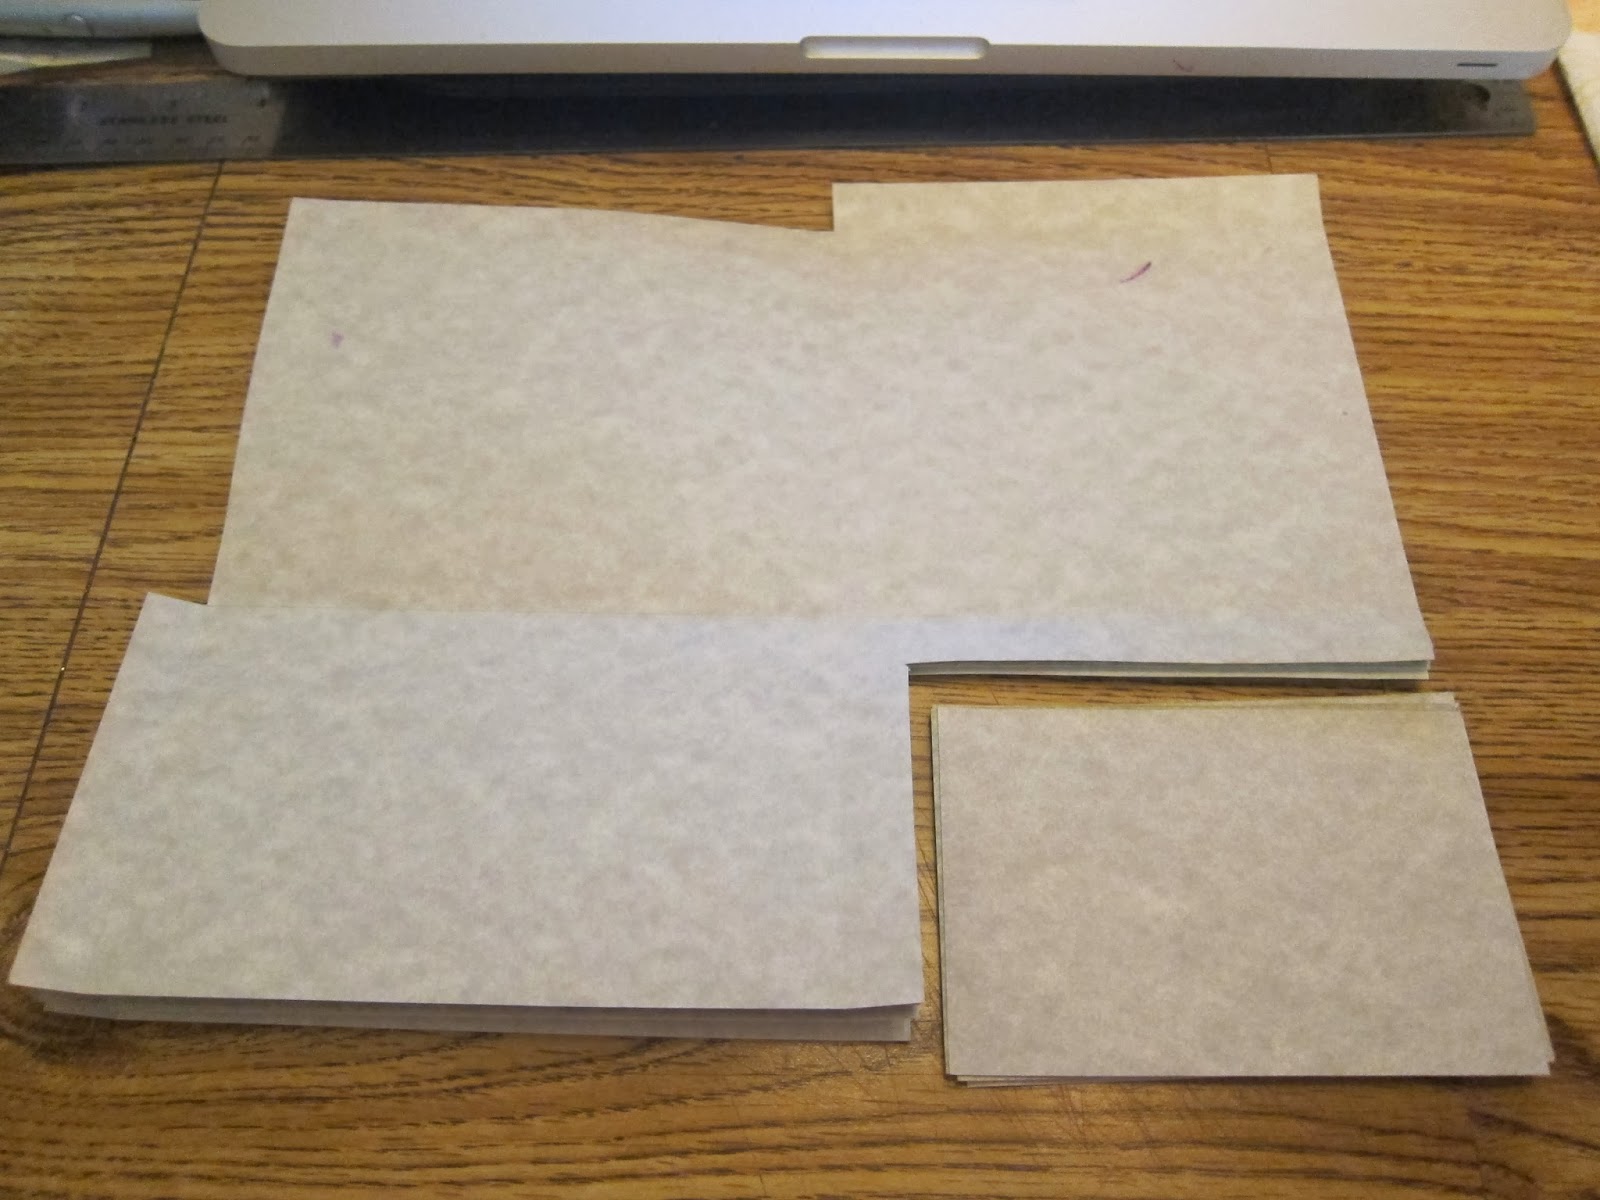
The first photograph is a single shot of my prep work prior to putting the box together with magnets under the paper. Laura did not use them under the paper and I am sure I will see why... In this stage I did add the Tim Holtz Distress Inks that are not my favorite to both papers. In this stage I am not sure if I will go back and make the outer distress inks "permanent".


I first had to realize which direction my paper was going and which direction I wanted my pattern to go. Unfortunately this seem line will end up on the back of all of these "boxes". I then added a inch marking up from the "top center" second 12 x 12 and a 1/4 inch marking along the left side of the first and second 12 x 12 papers while adding additional Scor-Tape tape to the seem for reinforcement. You need to put the magnets in the appropriate positions under the paper with Scor-Tape before adding the 12 x 12 which is not what Laura did. I think it will look nicer with the magnets hidden under the paper. That too will require specific measurements to match up.


These are the additional photographs showing the magnet attempt under the paper.


As you can see if you look close on the picture based on the thickness of the magnets the cover is not lying flat as it "should".


Then where the seem lies on the interior of the papers. Should I have used three magnets and put an additional one in the center.


I did not trim off the extra of the bottom half of the paper as I thought it was better to overlap the top paper. I have not even proceeded to the next step of envelope making part of this project and I am already not happy with the size. dimensions, and directions of this recipe "box". Should I additionally mention that although I like some of the designs of the Graphic 45 paper it has once again cracked.


I normally use index cards for all of my favorite recipes. I am not happy with the size of the BOX alone.

I NEED TO REMAKE THE ENTIRE MEASUREMENTS.

I need to continue with the envelopes to determine any other further mistakes.

Since I have virtually no followers...Maybe, I will add that later!

I have tested the "recycled" envelopes that I have "left". I am not fond of the spaces remaining or how lopsided it appears to be on the top and bottom. I will upload the remaining pictures but with my next recipe project I am starting with the envelopes I want to use or what I have to use.

Every project requires another purchase for theses blogging moms and I am not a mom that I do not want, cannot, and should not spend additionally out of my pocket for their whims.